Cookies are small pieces of data stored in the browser. They’re commonly used to remember user preferences, login sessions, or track behavior across visits.
In this tutorial, you’ll learn how to create, read, update, and delete cookies using JavaScript, all explained in a clear and beginner-friendly way.
🍪 What Are Cookies?
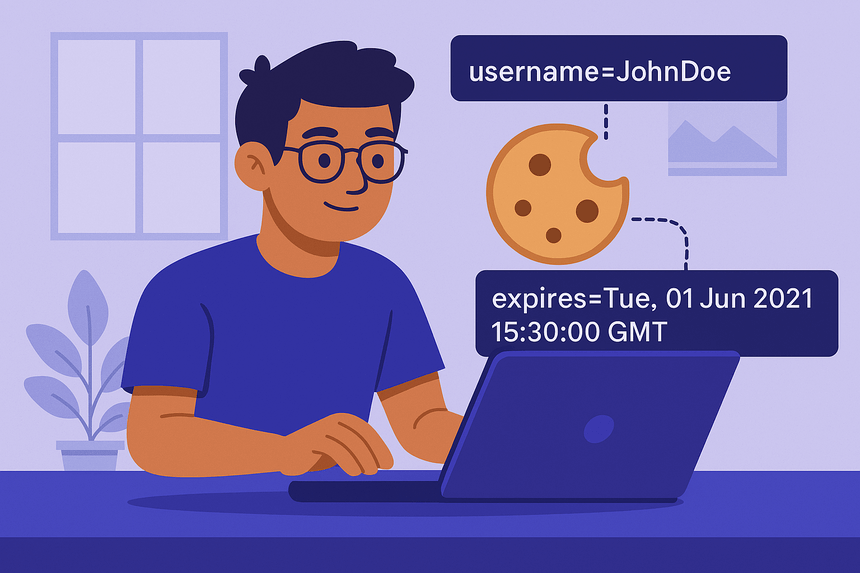
Cookies are stored as simple key=value pairs and are accessible via document.cookie in JavaScript. They can also include extra parameters like expiration date, path, and security flags.
🧱 Step 1: Creating a Cookie with JavaScript
Let’s start by setting a simple cookie:
document.cookie = "username=JohnDoe";This creates a cookie that stores username=JohnDoe and it will expire when the browser session ends (a session cookie).
⏳ Step 2: Setting an Expiration Date
To make a cookie last longer, add an expires attribute in GMT format:
const date = new Date();
date.setTime(date.getTime() + (7 * 24 * 60 * 60 * 1000)); // 7 days from now
document.cookie = "username=JohnDoe; expires=" + date.toUTCString() + "; path=/";
✅ Explanation:
expires: Defines when the cookie should expirepath=/: Makes the cookie available to the whole site
🔍 Step 3: Reading a Cookie
Use this function to get the value of a specific cookie:
function getCookie(name) {
  const cookies = document.cookie.split("; ");
  for (let c of cookies) {
    const [key, value] = c.split("=");
    if (key === name) return value;
  }
  return null;
}

// Example usage:
const username = getCookie("username");
console.log(username);
📝 Step 4: Updating a Cookie
To update a cookie, simply create it again with the same name:
document.cookie = "username=JaneSmith; expires=" + date.toUTCString() + "; path=/";It will overwrite the old value if the name matches.
❌ Step 5: Deleting a Cookie
To delete a cookie, set its expiration date to the past:
document.cookie = "username=; expires=Thu, 01 Jan 1970 00:00:00 UTC; path=/";🔐 Extra: Setting Secure or HttpOnly Flags
These are not accessible via JavaScript but can be set on the server side for added security:
Secure: Only sends the cookie over HTTPSHttpOnly: Makes the cookie inaccessible to JavaScript (for preventing XSS)
🧠 Summary of Cookie Options
| Option | Description |
|---|---|
| name=value | The actual data stored |
| expires | Expiration date in UTC format |
| path | Scope of availability across the site |
| domain | Domain the cookie belongs to |
| secure | Only sent via HTTPS (set by server) |
| HttpOnly | Hidden from JavaScript (set by server) |
✅ Final Result
You now know how to:
- ✅ Create cookies with or without expiration
- ✅ Read specific cookie values
- ✅ Update cookies by name
- ✅ Delete cookies safely
- ✅ Understand common attributes
This is useful for:
- Remembering user preferences
- Keeping users logged in (with caution)
- Tracking consent or language settings